Master Guide: How to Connect Projector to Laptop for Seamless Presentations
Whether you are gearing up for a high-stakes boardroom presentation or setting up a backyard movie night, knowing how to connect projector to laptop systems correctly is a fundamental tech skill. The process has evolved significantly over the last few years, moving from bulky analog cables to high-definition digital interfaces and even seamless wireless streaming solutions. While it might seem like a simple “plug and play” task, various hardware mismatches or software glitches can often lead to frustrating “No Signal” errors at the worst possible moment. This comprehensive guide will walk you through the most reliable methods, ensuring your display is crisp, centered, and professional every single time you hit the power button.
Identifying Your Ports: The First Step in Connectivity
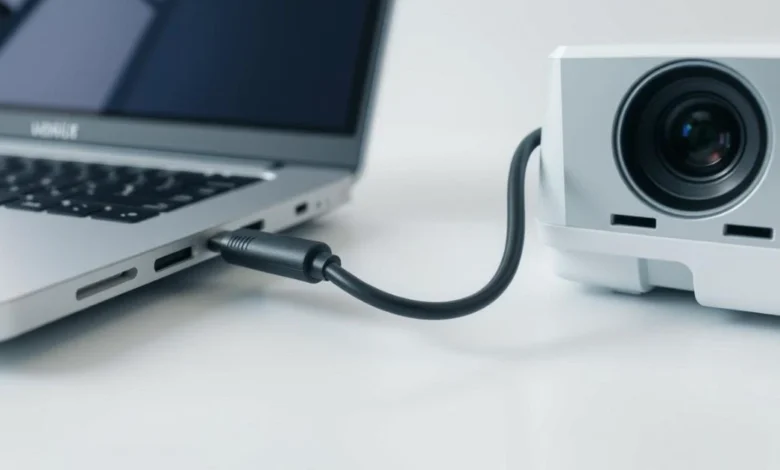
Before you can successfully learn how to connect projector to laptop, you must identify the physical ports available on both your sending and receiving devices. Most modern laptops utilize HDMI or USB-C (Thunderbolt) ports, while older enterprise-grade projectors might still rely on the blue 15-pin VGA connector. If your laptop is a newer MacBook or an ultrabook that only features USB-C, you will likely need a dedicated dongle or adapter to bridge the gap to an HDMI cable. Checking these hardware requirements beforehand prevents last-minute scrambles for cables and ensures that your digital signal remains uncompressed for the best possible image quality on the big screen.
Common Connection Cables and Their Uses
- HDMI: The gold standard for high-definition video and integrated audio.
- VGA: Legacy analog connection often found in older office environments.
- DisplayPort: Common in gaming laptops and high-end workstation setups.
- USB-C: Found on modern slim laptops, often requiring a multi-port adapter.
Step-by-Step Wired Connection Guide for Windows and Mac
To begin the physical setup of how to connect projector to laptop, start with both devices powered off to allow the handshake protocol to initialize correctly during boot-up. Plug one end of your chosen cable—usually HDMI—into the laptop’s port and the other firmly into the projector’s “Input” slot. Once the physical link is established, power on the projector first, followed by your laptop, so the computer can detect the external display during its startup sequence. If the image does not appear automatically, use the “Source” or “Input” button on the projector remote to toggle between the different ports until your laptop desktop is mirrored on the wall.
Essential Port Compatibility Table
| Port Type | Max Resolution | Carries Audio? | Best For |
| HDMI 2.1 | 8K / 4K @ 120Hz | Yes | Modern Movies & Gaming |
| USB-C | 4K @ 60Hz | Yes | MacBooks & Ultrabooks |
| VGA | 1080p (Analog) | No | Legacy Office Projectors |
| DisplayPort | 8K @ 60Hz | Yes | Professional Workstations |
Configuring Display Settings: Mirror vs. Extend Modes
Once the hardware is linked, mastering the software settings is the next phase of how to connect projector to laptop. On a Windows machine, the quickest way to manage your display is by pressing the Windows Key + P shortcut, which opens a sidebar with four distinct projection options. “Duplicate” is the most common choice for speakers as it shows exactly what is on your laptop screen, while “Extend” allows you to keep your notes private on the laptop while the audience sees only the slides. Mac users can achieve similar results by navigating to System Settings > Displays and choosing between mirroring or using the projector as a secondary desktop space.
Going Wireless: How to Connect Projector to Laptop Without Cables
In the modern workspace, learning how to connect projector to laptop wirelessly is becoming increasingly popular to eliminate cable clutter. Windows 11 users can utilize the “Cast” feature (Miracast) by pressing Win + K, which allows the laptop to search for compatible smart projectors on the same Wi-Fi network. If your projector is older, you can bridge this gap by plugging a Chromecast or an Apple TV into the projector’s HDMI port and streaming your screen via the browser or AirPlay. While wireless connections offer great freedom of movement, they are best suited for static slides rather than high-bitrate video, as minor lag or buffering can occasionally occur depending on your network strength.
Troubleshooting Common Projection Failures and Errors
Even after following the standard steps of how to connect projector to laptop, you might encounter a “No Signal” message or a distorted image. The most frequent culprit is an incorrect input source on the projector, so always double-check that you have selected the specific HDMI port you plugged into. If the image appears blurry, right-click your desktop, go to Display Settings, and ensure the resolution matches the projector’s native capabilities, which is usually 1920×1080 for HD models. Furthermore, if you have video but no sound, navigate to your laptop’s audio settings and change the default playback device to the projector’s name or “HDMI Output” to route the audio through the external speakers.
(FAQ’s)
Why is my projector showing “No Signal”?
Check cable connection and make sure correct input source (HDMI/VGA) is selected on the projector.
How do I get sound to play through the projector?
Set the projector or HDMI device as the default audio output in your laptop sound settings.
Can I connect a projector via USB?
No direct video support on most USB ports; you need a USB-to-HDMI adapter for display output.
What is the shortcut key for projecting my screen?
Press Windows Key + P to quickly switch between display modes.
Does HDMI cable length affect projector performance?
Yes, long HDMI cables (50+ feet) can cause signal loss or flickering without a booster.
Conclusion
Mastering how to connect projector to laptop systems is a blend of having the right hardware and knowing the quick software shortcuts that save time. By keeping a high-quality HDMI cable and a versatile USB-C adapter in your bag, you are prepared for almost any technical environment you encounter. Always remember to test your setup at least ten minutes before your event starts to account for any unexpected driver updates or cable issues. With the right configuration, your presentations will be impactful, professional, and entirely free of technical interruptions